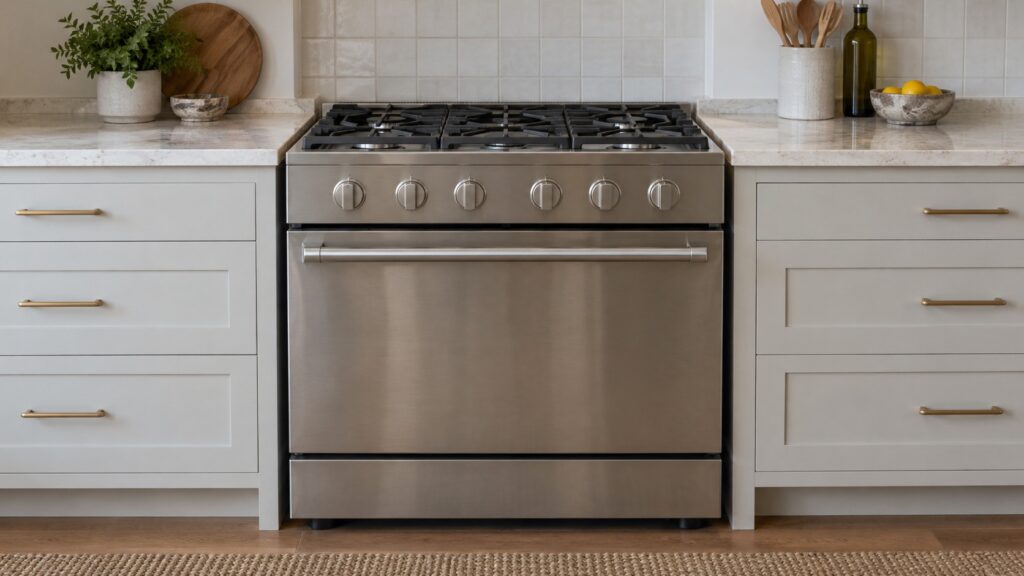
La Cornue range side clearance countertop planning starts with the installation instructions for your exact model, because the clearances are set by the manufacturer. Our installation requirements guide says to confirm the exact width for your model and to allow for side and rear clearances to combustibles per the manufacturer’s specifications, and it does not give numbers, so neither will we. What we can do is show you how to measure the opening, what to ask for in writing, and what goes wrong when countertops and cabinets are cut before the range is chosen.
How much side clearance does a La Cornue range need?
The answer is in the installation sheet, not in a rule of thumb. Clearances to combustible material, such as wood cabinets, are set so that the sides of the range, which can get hot, do not damage or ignite anything nearby. Our installation requirements guide says to allow for them per the manufacturer’s specifications and notes that larger ranges like the 150 and 165 need substantial wall space and adequate aisle clearance in front. Ask your dealer for the sheet for your model and configuration, with the side, rear and, if it matters, overhead clearances marked, and keep it with the plans.
What is the countertop edge issue?
A range sits between runs of counter, and the countertop edge next to it matters for three reasons. Heat: the sides of the range, and any trim that sticks out, are near a material that may not like heat, such as wood, laminate or a sealed stone edge. Fit: the range has to slide in without scraping the counter or its edge, and has to be positioned so that doors, drawers and knobs clear. Look: a visible gap that is too wide or too narrow looks accidental. All three are settled by the model’s instructions and by the installer’s measurements, so confirm them before the counter is templated.
How do you measure the opening?
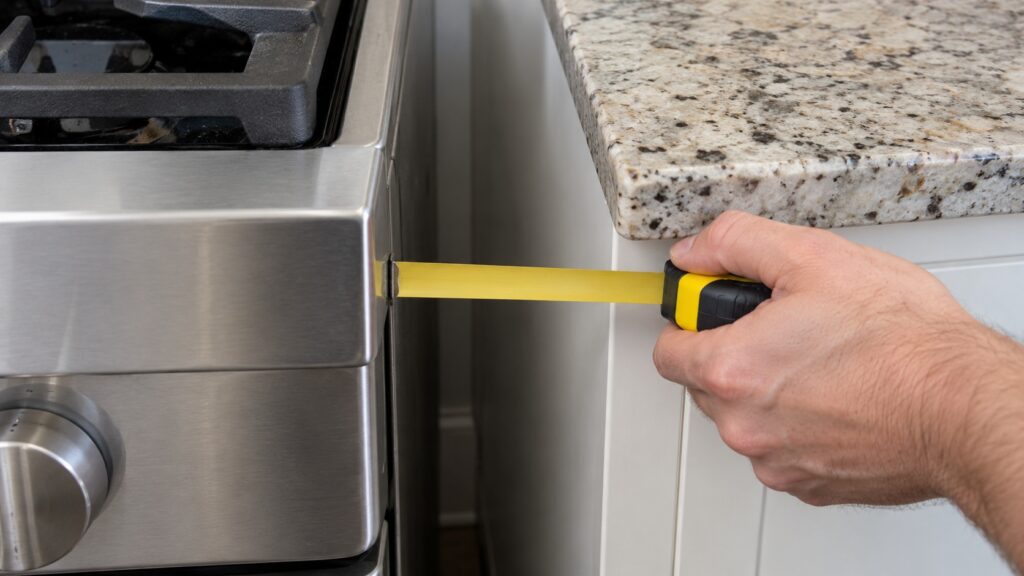
Use a tape measure and write down every number. Measure the width of the opening at the front, the middle and the back, because walls and cabinets are rarely square. Measure the depth, the height of the counters on both sides and the position of the gas and electrical connections. Compare each number with the spec sheet, with the range’s width and any required gaps. Our Le Château 120 page lists a width of 47.2 inches and the CornuFé 110 page lists 43 inches, but those are examples; use the sheet for your model, and remember that a made-to-order Château is specified for your kitchen, so the numbers may be specific to your order.
What about countertop height and the range top?
The range top and the surrounding countertop need to relate in a way that works for cooking and for safety: pots should slide from the counter to the burners without catching, and the counter edge should not collide with knobs or trim. The way to get this right is to have the installer confirm the finished height of the range, including its feet, and to check the leveling range before the counters are installed. Our leveling and anti-tip guide explains why level matters and how anti-tip provisions are part of a correct installation. We do not give a height figure; it depends on the model and the feet.
What should you not do?
Do not modify a cabinet or counter edge to squeeze a range in without checking the instructions. Do not fill a side gap with a combustible filler. Do not push the range tight against a wall if the sheet calls for a gap. And do not assume that a range that fits physically also meets the clearance rules. If a gap is tighter than the instructions allow, the fix is to change the opening, not the instructions. Gas and high-amperage electrical connections are done by licensed professionals, and the range should be leveled and leak-tested by the licensed installer after it is placed.
What should you put in writing before the counters are cut?
Treat the counter template as the point of no return. Before it is made, get the installer, the cabinet maker and the countertop fabricator to agree on one drawing that shows the range opening with its width, depth and height, the side gaps, the countertop edge profile next to the range, the position of the gas and electrical connections and the anti-tip fixing. Have the installer initial it against the installation instructions for your exact model. If the range is made to order, confirm that the drawing matches the order sheet and not a catalog entry, because a Château can be specified in many configurations. Keep a copy with the warranty papers. If a dimension changes after the order, send the change to everyone, and do not rely on a phone call.
After installation, check the result: look along each side for the gap, confirm the range sits level with all feet on the floor, and make sure the anti-tip provision is connected. Take a photo for your records. If something does not match the plan, tell the installer before they leave.
How do you coordinate with the hood and the floor?
Side clearance, hood and floor are three parts of one plan. The hood should be at least as wide as the range, and its height above the cooking surface follows its own instructions; see our hood height guide. The floor must be level and strong enough for the weight, as our weight and floor planning guide explains. If you fix one without the others, you may have to redo it.